Home/Client Portal

The Client Portal

Roofing records. Ready for your clients.

Give clients secure access to job updates, documents, and service requests.

Step 1: Invite the Client

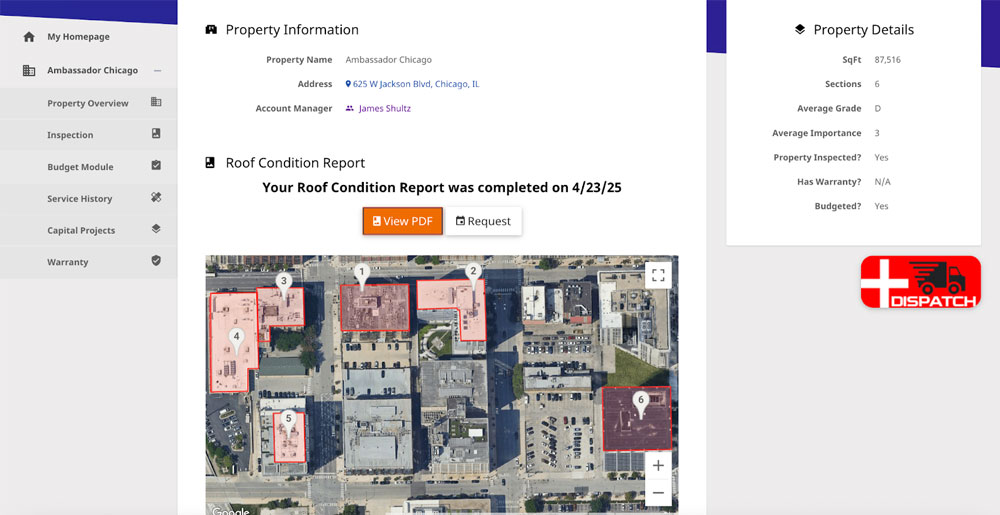
Choose what each client can see.

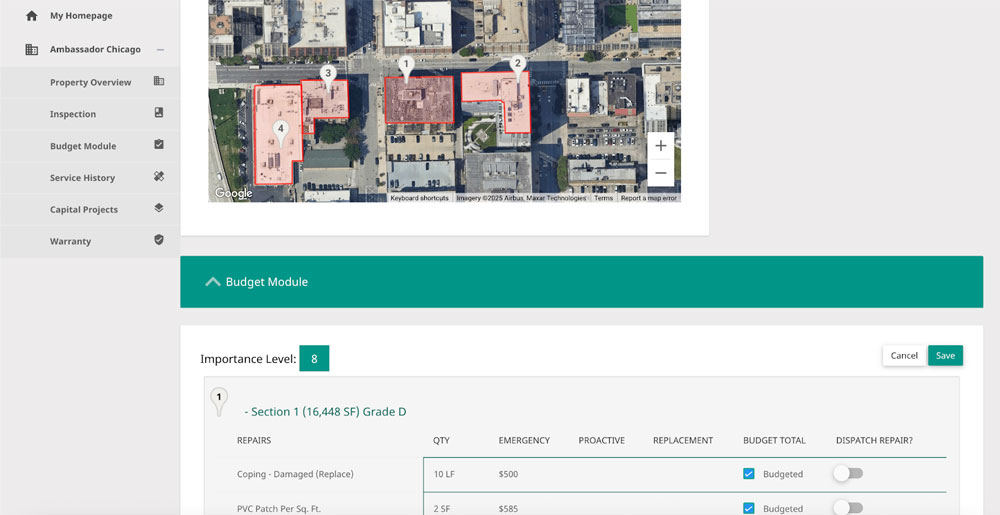
Grant access by property or account. Choose which budgets, documents, schedules, and photos each client can view.
01Invite the Client
Client portal property access

Step 2: Share Real-Time Job Info

Make status updates easy to find.

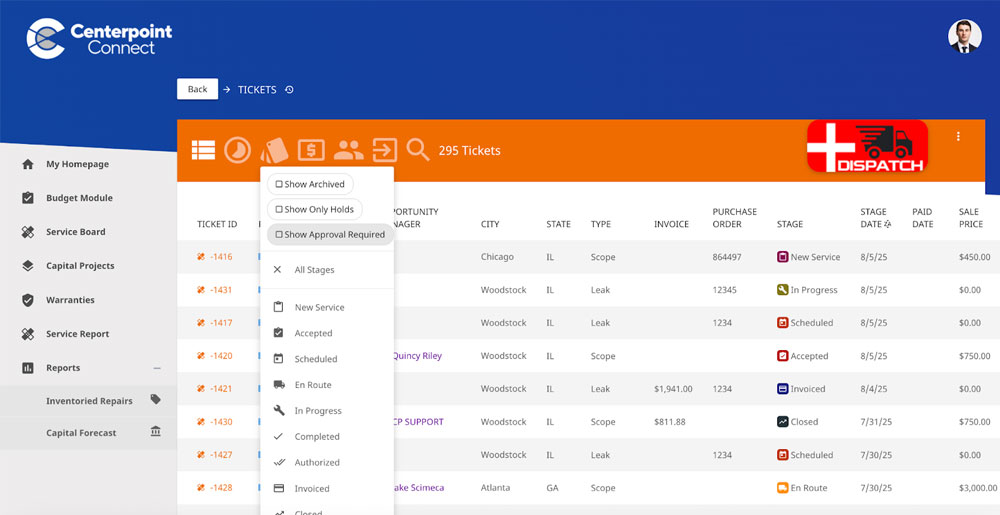
Clients can check available service ticket updates, documents, and account information without calling the office.
02Share Real-Time Job Info
Client portal job status management

Step 3: Share Files, Photos & Reports

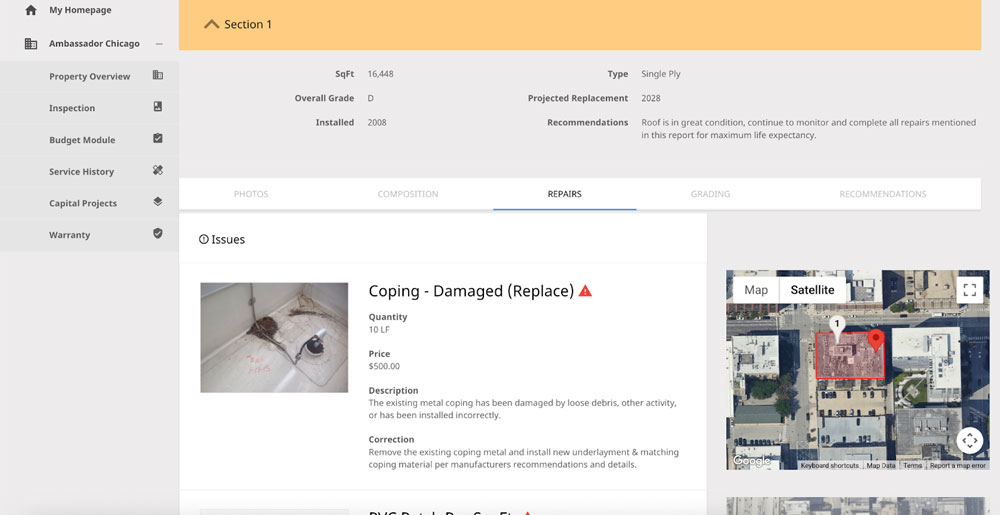
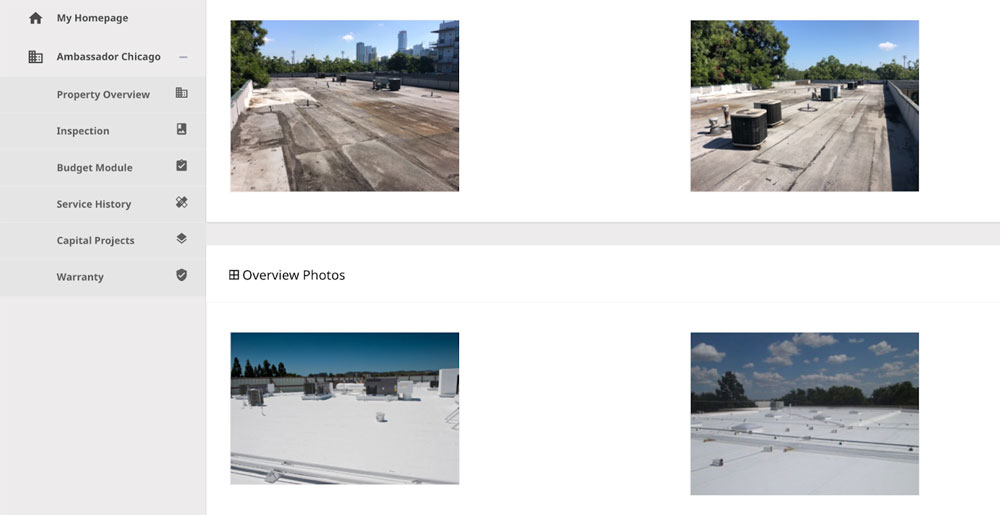
Share job documents and photos.

Share inspection photos, closeout reports, permits, and warranties for clients to download.
03Share Files, Photos & Reports
Client portal file sharing

Step 4: Submit Service Requests

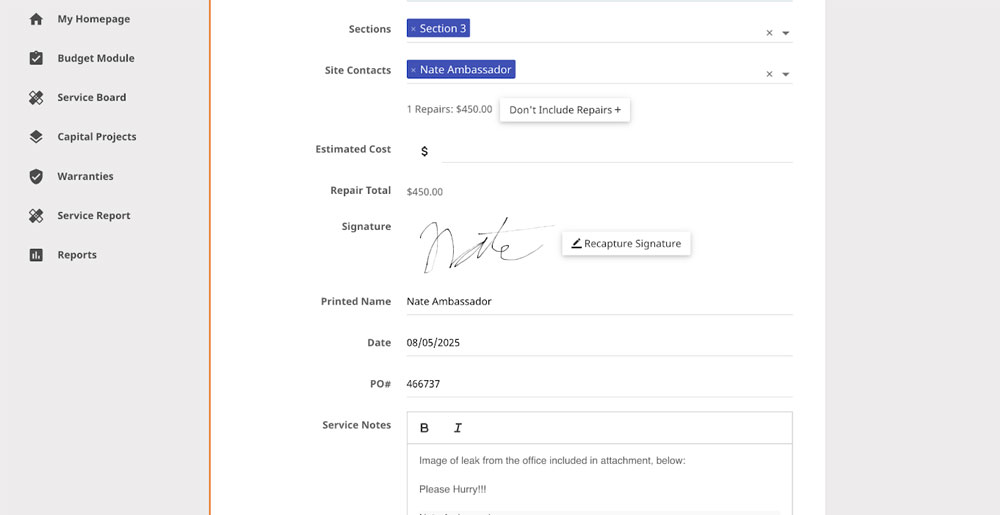
Let clients request service.

Clients select a property and submit service details through the portal. Each request stays connected to their account.
04Submit Service Requests
Client portal approval management

Step 5: Keep Communication Transparent

Keep shared information together.

Give approved users one place for documents, photos, and service information, reducing scattered emails and repeat status requests.
05Keep Communication Transparent
Client portal communication management

Step 6: Strengthen Client Relationships

Keep the property history accessible.

Keep past projects and files available so clients can find their roof history when they need it.
06Strengthen Client Relationships

Client portal relationship management

Trusted by More than 250 Roofing Contractors Across North America.

Scroll to Top